To Use an Communicator Classic Configuration
Before You Begin
Note
Only the Communicator Classic serial configuration settings can be imported.
The I/O data map and high-level network settings are not supported and must be set manually in the Communicator built-in web interface.
The intended use of the Communicator Classic configuration import is to:
convert custom protocols.
get a new Communicator unit up and running quickly and then complete the configuration in the Communicator built-in web interface.
It is not recommended to import Communicator Classic configuration files containing standard Modbus RTU commands if you need to be able to easily make change to the imported configuration.
When standard Modbus RTU commands are imported, they are converted to Custom Request/Response transactions. See Communication Serial Protocol.
The behavior of the imported standard Modbus RTU commands is preserved, but adding or changing Modbus RTU commands in Custom Request/Response mode is more difficult than in Modbus RTU mode.
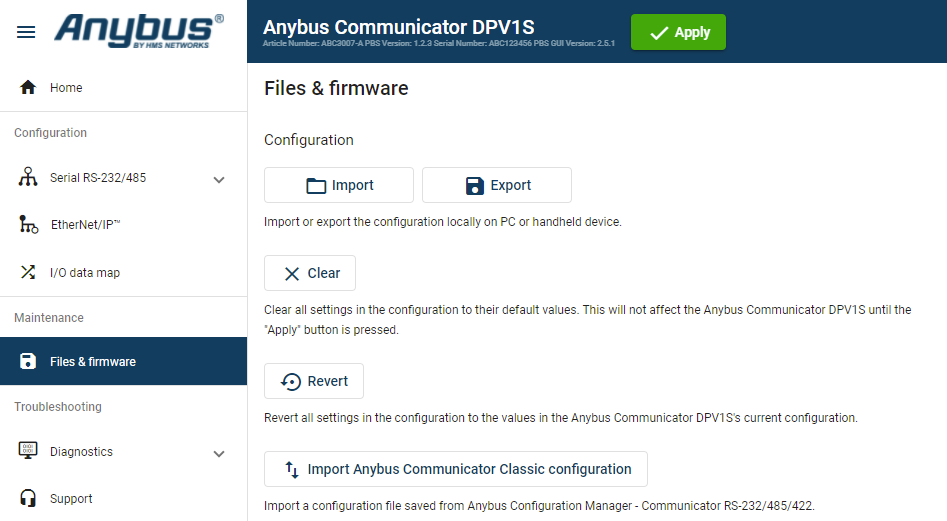 |
On the page, click Import Anybus Communicator Classic configuration
In the Import Anybus Communicator Classic configuration window, click Select file (.cfg).
In the Open dialog box, browse to and select the configuration .cfg file and click Open.
If you want to import a name file, click Select name file (.cfx).
In the Open dialog box, browse to and select the configuration .cfx file and click Open.
To import the configuration, click Import.
Figure 81. Example, selected .cfg and .cfx files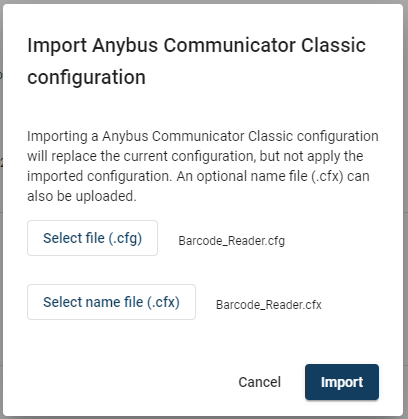
Result
The Communicator Classic serial configuration settings are imported.
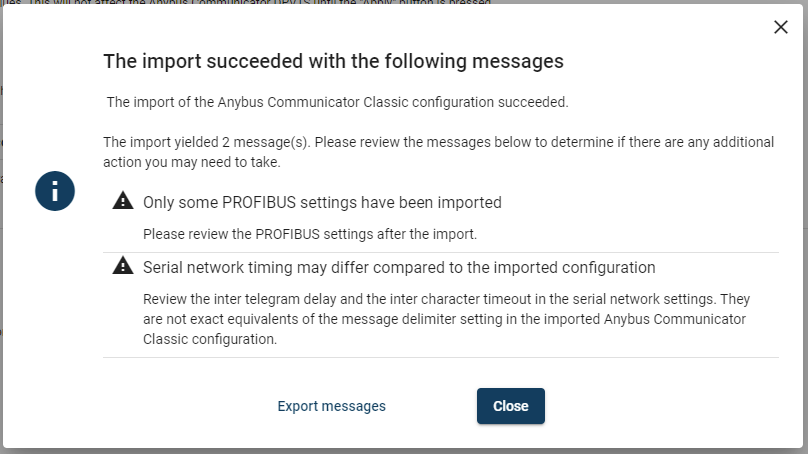 |
A window with messages about the imported configuration appear.
In the list you can view the settings that are fully supported or adjusted to work with Communicator and which settings that are not supported and must be set manually in the built-in Communicator interface.
To export the messages in an Excel XLS file, click .
To apply the settings, click Apply in the web-interface header, and follow the instructions.